Welcome!
How to wire it.com is dedicated to helping you get connected.
Whether it's trying to figure out that rat's nest behind your television set
or just simply changing over an electrical wall switch or outlet, I'm here to help.
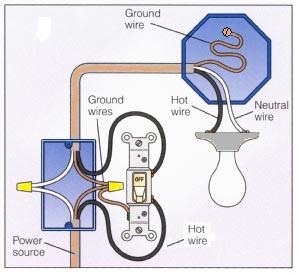
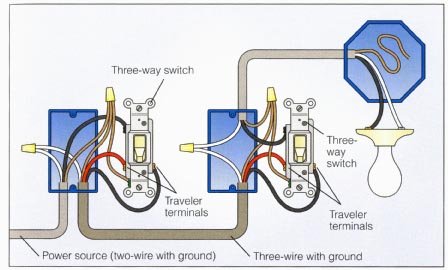
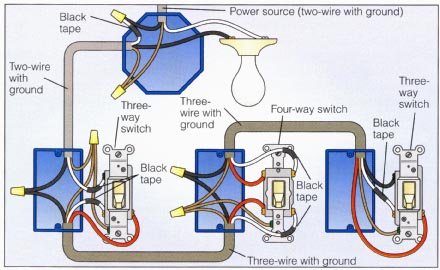
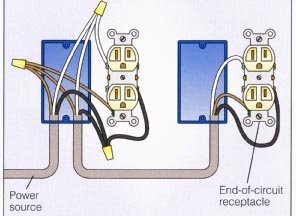
I will show you how to wire a 2-Way Switch or how to wire a 3-Way Switch or even
how to wire an Outlet, but also teach you a little bit of theory on how the circuit is controlled. So if you are a little green but yet a do-it-yourselfer,
Hopefully I can get you the basic information you need to get the job done.
My menu to the left should be the fastest method of locating what your situation calls for but if not, I also have a list of the most popular sought after wiring diagrams on my "Wiring Diagrams" page. If all else fails, try my Site Map page to locate your subject of interest. You can also scroll down the page and find most of the major topics discussed on my site. I appreciate your visit, I hope you can get answers you are looking for with the information I am providing on getting something connected or wired.
How to wire it.com Step-by-Step Guide for Safe Electrical Wiring.
Do-it-yourself (DIY) projects have become increasingly popular among homeowners, and electrical wiring is no exception. Taking on residential electrical wiring projects can be rewarding, but it's crucial to prioritize safety and follow proper guidelines to prevent hazards. This comprehensive guide aims to provide step-by-step instructions for DIY enthusiasts looking to tackle electrical wiring projects in their homes.
- Understanding Electrical Basics: Before diving into any electrical project, it's essential to have a solid understanding of basic electrical concepts. Learn about voltage, current, resistance, circuits, and the different types of wires and cables used in residential wiring.
- Safety First: Safety should be your top priority when working with electricity. Always turn off the power to the circuit you're working on at the main breaker box. Use proper safety gear, such as insulated gloves and safety goggles, to protect yourself from potential electrical shocks.
- Planning and Permits: Before starting any electrical project, create a detailed plan. Determine the circuits you need to install or modify, and make a list of all the necessary materials. Additionally, check with your local authorities to see if you need any permits for your project.
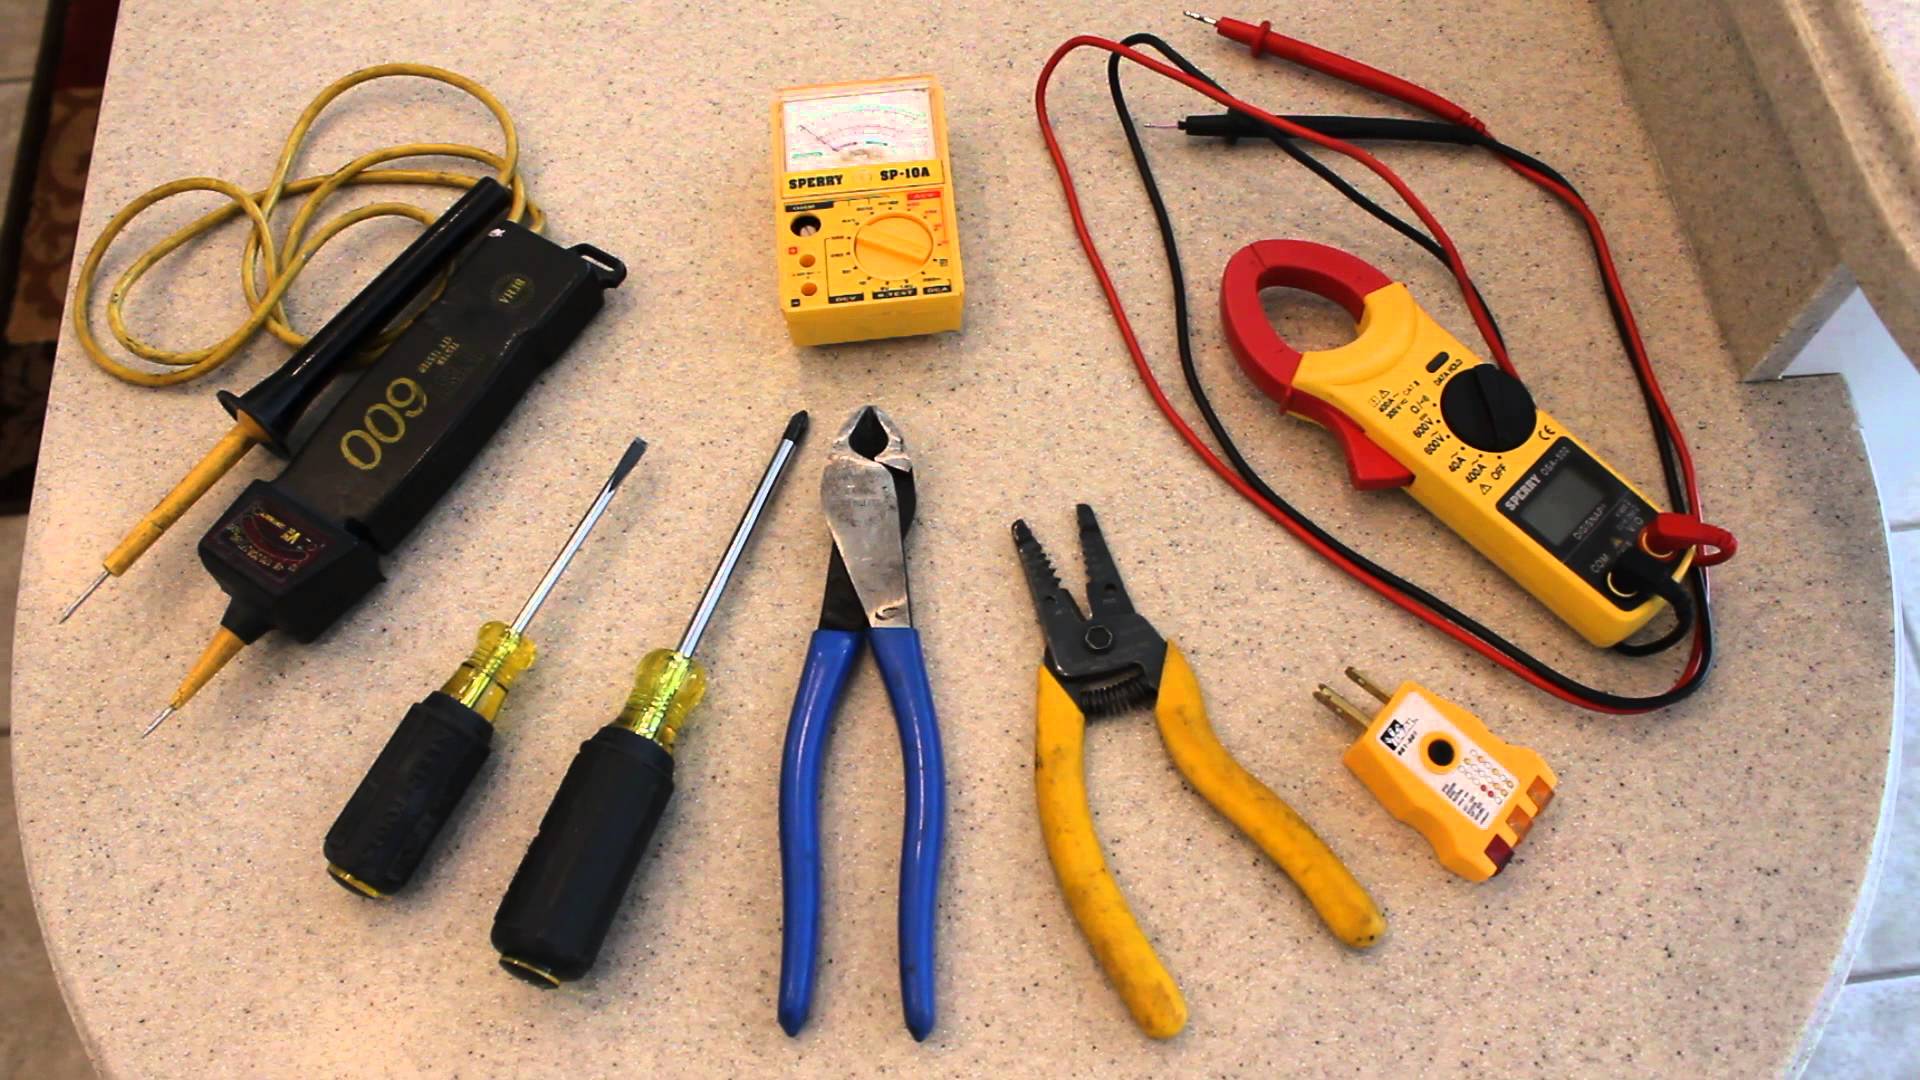
- Gathering Materials: Collect all the required materials, including wires, cables, circuit breakers, outlets, switches, junction boxes, and tools such as wire strippers, pliers, and a voltage tester.
- Creating a Wiring Diagram: A wiring diagram helps you visualize the layout of your circuits. This step is crucial to ensure that you're wiring everything correctly and efficiently. It will also help you troubleshoot any issues that may arise later.
- Routing and Installing Wires: Carefully route wires along the planned paths, ensuring they are hidden and protected within walls, ceilings, or conduits. Use appropriate clips or staples to secure the wires and prevent damage.
- Connecting Outlets and Switches: Install outlets, switches, and other devices according to your plan. Follow the manufacturer's instructions for proper wiring and connections. Remember that different color-coded wires indicate different functions (black for hot, white for neutral, green or bare for ground).
- Junction Boxes and Enclosures: When splicing wires or making connections, always use junction boxes or enclosures to protect the connections and prevent potential hazards. These boxes should be easily accessible and not buried within walls.
- Proper Grounding: Ensure that every circuit is properly grounded. Grounding prevents electrical shock and protects against electrical fires. Connect the ground wire to the grounding terminal of outlets, switches, and other devices.
- Testing and Troubleshooting: After completing the wiring, turn on the power and use a voltage tester to check the outlets and switches. Make sure they are functioning correctly. If you encounter any issues, use your wiring diagram to troubleshoot and fix the problem.
- Labeling and Documentation: Label your circuit breaker box clearly to indicate which breaker corresponds to each circuit. This will make it easier to identify and isolate circuits in the future. Also, keep a copy of your wiring diagram and any notes for reference.
- Seek Professional Help When Needed: While DIY electrical wiring can be fulfilling, there are instances where it's best to call a professional electrician. If you encounter complex wiring situations, lack experience, or have doubts about your abilities, allow "How to wire it.com" to find you a professional local electrician.
Conclusion: Residential electrical wiring projects can empower homeowners to customize their living spaces while saving on costs. By following safety protocols, planning meticulously, and adhering to proper wiring techniques, individuals can successfully complete a wide range of electrical projects. However, it's important to recognize one's limitations and always prioritize safety, considering professional assistance when necessary. Remember, a well-executed DIY electrical wiring project can enhance your home's functionality and aesthetics while ensuring the safety of you and your loved ones.
Coming Soon!
More home wiring subjects.
Video's for step-by-step instructions.
Need A Local Electrician Fast? Click here
Wiring Diagram List
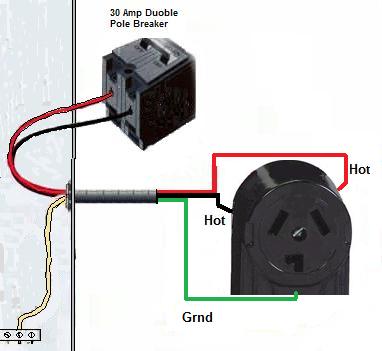
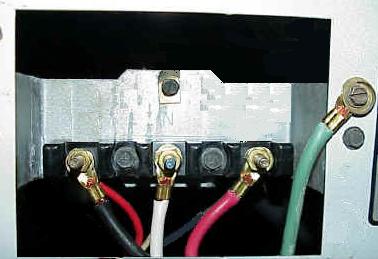
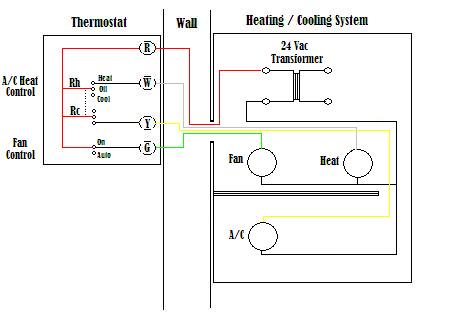
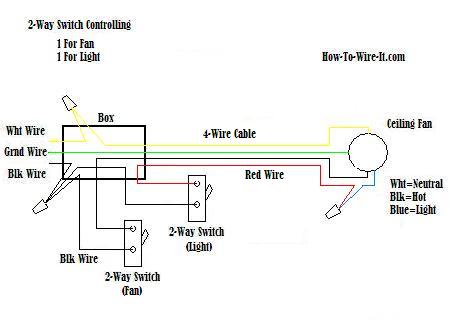
You may scroll through the images below to search for related diagrams or components you are interested in and click on the image to go directly to more information.
